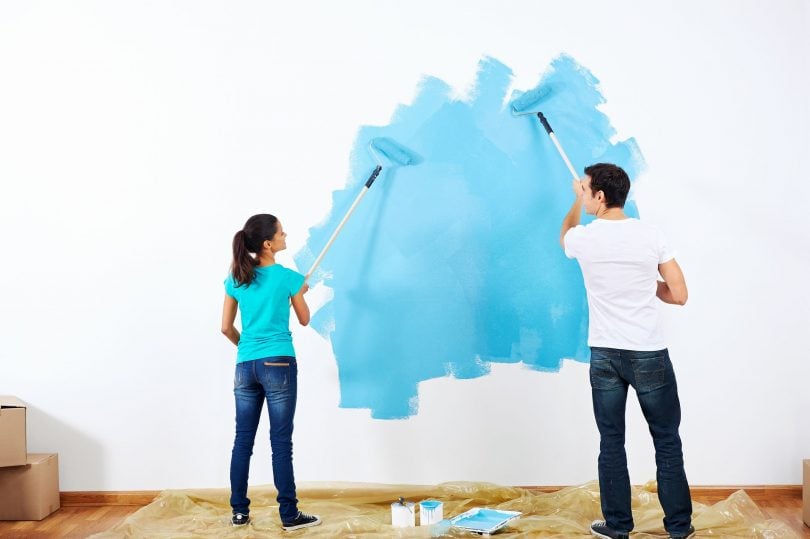
Whether you just moved into a new home or you’re looking to give your current place a little facelift, you’ve set your sights on a fresh coat of paint for your walls. You’re savvy enough to know that when it comes to DIY paint jobs, there are definitely some do’s and don’ts. So make sure your home gets that professionally-painted feel with these home painting tips and your friends will be asking you who you hired. Go ahead and smirk.
1. Mix several cans of paint in a large bucket for consistent color
If you are painting a large room one color, it will take multiple cans of paint to get the job done. Unfortunately, not all cans of the “same color” are actually the same color, and this can lead to a not-so-nice effect on your walls when it’s time to switch to a new can. Save yourself a headache and use a clean bucket to mix the cans of paint together and ensure even, color-matched coverage for the whole room. Save the paint cans to store any remaining paint for touch-ups down the road.
2. Make sure the paint is completely dry before removing the tape
Avoid those unsightly edges that happen when you peel a little bit more than you meant to. Use a razor or Exacto knife to cut the dry paint exactly at the edge of the tape, and peel the tape down and away from the edge of the paint. Ensuring that the paint is 100% dry will prevent any stickiness or smearing.
3. Paint the trim boards first
Usually, trim boards and ceilings are painted white. That means you don’t have to worry about taping off the walls or being super neat when painting — just focus on getting even coverage! Once the paint is completely dry (at least 24 hours), then you can tape it off and paint the walls.
4. Prime your walls
Really? Yes. Do it. This is the step that can really make the difference between obviously DIY and “that looks so professional”! It will increase the cost of painting an interior room, but the quality and evenness of the finish will make you glad you took the extra step. In short, the primer covers things like patches, dirty spots, or inconsistent wall textures so that they don’t become dull spots in the new paint.
5. Use cotton canvas drop cloths for spills and drips
Plastic might seem like a better answer to keep your DIY house painting costs low, but it’s slippery and doesn’t stay in place. What’s worse: paint dripped on plastic stays wet, so it can end up in your shoes and get accidentally tracked through the house. Canvas is heavier and stays put on carpets and some hard floors, and since the paint will dry it can be used for multiple rooms. Do keep in mind that large drips could seep through if you don’t tend to them quickly!
Just because it was a DIY move doesn’t mean it has to look unprofessional. Use these tips and enjoy your fresh looking home!


