Gallery walls are everywhere in the design world. Gone are the days of simple, centered, symmetrical displays; replaced with bold, exciting clusters of whatever strikes your fancy. The good news? They take any space to the next level. The bad news? They might seem a little overwhelming. Love the look but feeling a little unsure of how to make it happen in your space? Don’t be daunted! Use these simple tricks to make a blank wall your canvas and display an exciting collection of things that inspire you.
Mix-up your media
The best gallery walls combine shapes, sizes, art mediums and item types. Try varied types and sizes of frames and includes art of different kinds – paintings, photographs, sketches – and don’t be afraid to get creative, either. The best gallery walls include items that aren’t necessarily traditional “art” pieces. Use a mounted trophy or a statement mirror to mix it up. Try hanging arrows, wooden crafts, monograms, tapestries or garland. The rules are there are no rules, and that’s what makes creating gallery walls so much fun.
Take your time
Like a fine wine, gallery walls become great over time. Good design is never rushed, it’s curated, defined as “pulling together” or “sifting through”. Finding good pieces the fit your personal aesthetic takes a little effort. Start with four or five pieces you love and build from there. Add pieces as you find them instead of rushing to complete a mediocre collection. You’ll be happier, and so will your walls.
Get personal
Hands down the most important tip on this list, art is not art because someone else tells you so or because you paid a lot of money for it. Art is personal and subjective and some of the best art can cost very little (or nothing at all). When choosing pieces for your gallery, you don’t need a large budget or an art history degree. You need pieces that mean something to you. Frame cards or photographs with sentimental value. Choose pieces from special trips that you’ve taken – even if they’re just postcards or maps. Frame quotes that are special to you, or try your hand at creating an abstract piece of art with colors you love. Just like the wall itself, there are no rules when it comes to choosing the items you hang. It’s your space, so choose what makes you feel inspired, nostalgic and just plain happy.
Think outside the “box”
Some of our favorite gallery collections aren’t covering a basic rectangular wall or in a basic symmetrical shape. Especially in small spaces, gallery walls can add character and unique aesthetic to areas that aren’t so straightforward. Create your collection around a door, your television, your bar cart or a window. Just because the space isn’t rectangular doesn’t mean it can’t be a place to display your art. Get weird, we’re into it.
Choose a theme
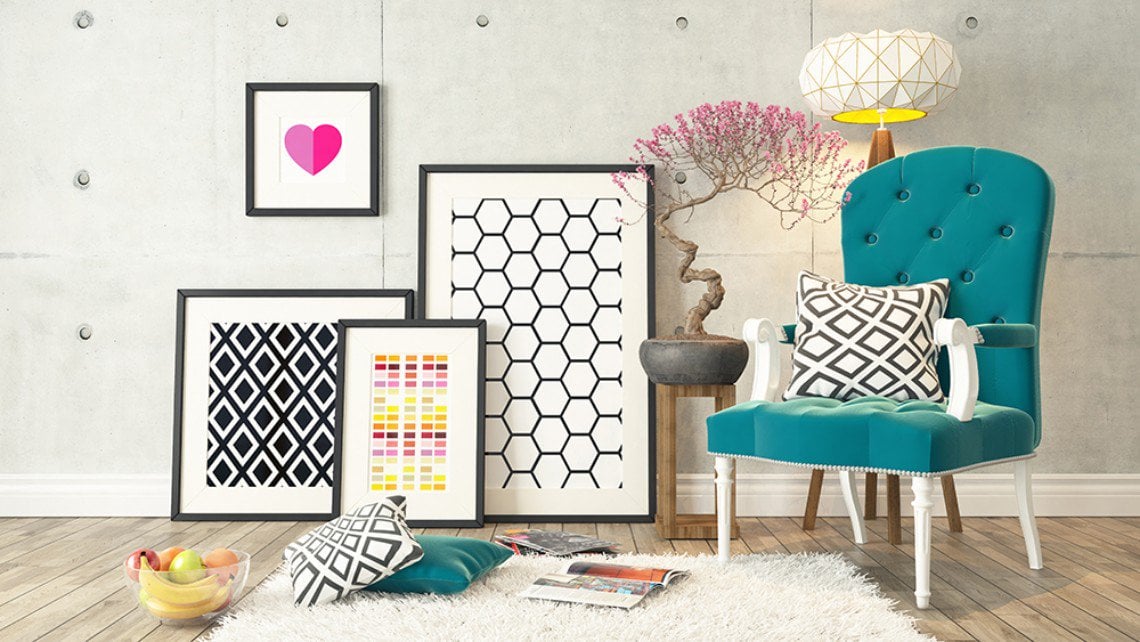
While the truly eclectic gallery walls make the biggest statement, those created with a bit more order can fit better within certain spaces and can be a little less daunting. If you’re feeling overwhelmed by the idea that anything goes, try a collection centered on a certain theme. Love vintage artwork? Try a grouping of your favorites. Experiment with a color scheme (like this black and white one above) or use only family photographs. Create a collection of your child’s best artwork in a playroom, a grouping of your favorite travel destinations, or a wall full of floral artwork.
If at first you don’t succeed…
Let’s be honest here. Unfussy looks are never quite as unfussy as they appear. Such is the case when it comes to hanging gallery walls and this is often the part that makes creating them seem difficult. The good news? It’s not as hard as it looks, but it does take a little time and planning. Before pounding any nail holes, measure the size of your wall and recreate it on your floor using string or tape. Use this space as your canvas, arranging (and rearranging) your pieces until you find a layout you love. Try to space out your big pieces and fill in gaps with smaller ones, and try to fight the urge to make your grouping symmetrical – the best walls aren’t. You can even take your planning one step further by cutting out the paper in the sizes/shapes of your pieces and using painters tape to arrange them on the wall (more with this tutorial), or you can just go for it and start hanging. Remember, nothing is permanent and nail holes can always be filled with a little putty.
Still, need some inspiration? Check out gallery walls on Pinterest and start experimenting with grouping pieces you might not otherwise put together. You’ll be surprised – it’s easier than you think!